


Default
Door staff@engadget.com (Steve Dent) - 09 Nov 2026
While the recently-launched iPhone 18 Pro's native camera offers manual controls for shutter speed and ISO, older iPhones do not. However, you can adjust two separate exposure settings. The first of those is called exposure and the other is brightness.
To set the first, go to the six-dot menu and tap "Exposure," one of the nine settings on recent iPhones like my 16 Pro Max. Then drag the slider to the right to set it to -2EV, which lets in the least light. This setting will stay through your photo session as long as you don't close the Camera app.
Once your iPhone is set up, tap and hold on the moon for several seconds to lock the autofocus and exposure. Then, slide the "brightness" slider (with a sun icon) that appears to the right down to the desired setting (usually close to the minimum).
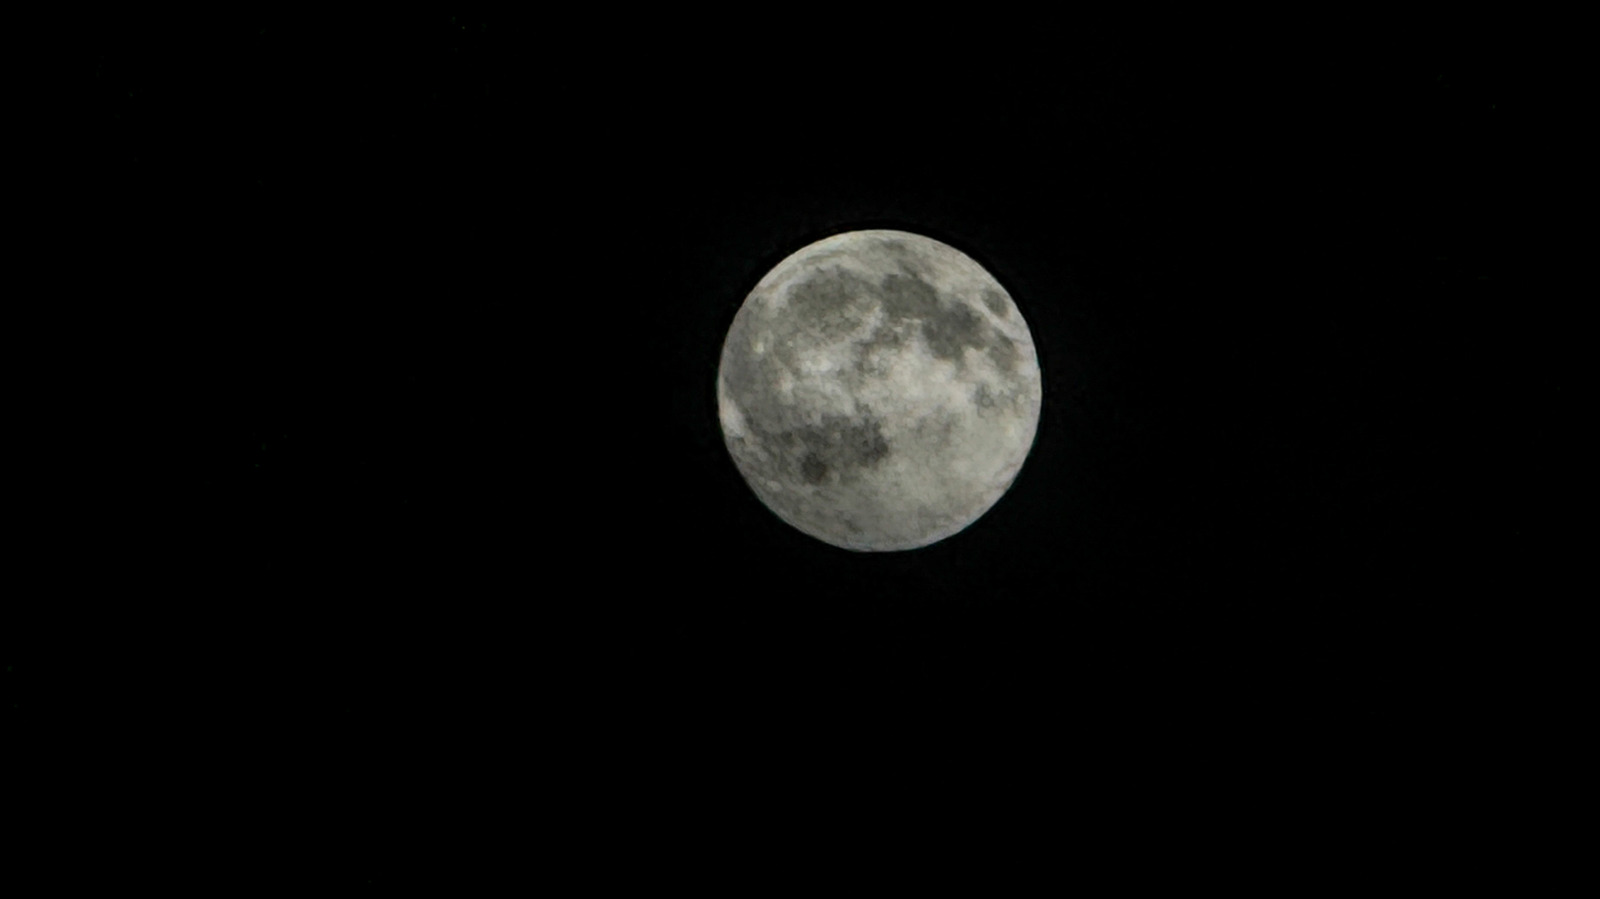
Once you do so, you'll start to see the moon's craters and detail appear. Make sure you can see the maximum detail possible, even if the brightness seems too low (you can always increase it after you take the photo). Then press the shutter button, and voila, you have a beautiful, clear shot of the moon. Note that both the exposure and brightness must be adjusted at or near the minimum possible, or your moon photo will lack detail.
If you want to capture video instead of a photo, follow the same process. Change your iPhone's setting to "Video," then zoom in on the moon (15x max for recent Pro cameras) and frame the shot. Make sure Exposure is at -2EV, then tap and hold on the moon to lock focus. Drag the brightness slider down to the desired setting until you see the level of detail you want. Then, hit the record button and capture the desired length of video. To extract a photo, play your video back, stop on the desired frame and take a screenshot.
To set the first, go to the six-dot menu and tap "Exposure," one of the nine settings on recent iPhones like my 16 Pro Max. Then drag the slider to the right to set it to -2EV, which lets in the least light. This setting will stay through your photo session as long as you don't close the Camera app.
Once your iPhone is set up, tap and hold on the moon for several seconds to lock the autofocus and exposure. Then, slide the "brightness" slider (with a sun icon) that appears to the right down to the desired setting (usually close to the minimum).
Once you do so, you'll start to see the moon's craters and detail appear. Make sure you can see the maximum detail possible, even if the brightness seems too low (you can always increase it after you take the photo). Then press the shutter button, and voila, you have a beautiful, clear shot of the moon. Note that both the exposure and brightness must be adjusted at or near the minimum possible, or your moon photo will lack detail.
If you want to capture video instead of a photo, follow the same process. Change your iPhone's setting to "Video," then zoom in on the moon (15x max for recent Pro cameras) and frame the shot. Make sure Exposure is at -2EV, then tap and hold on the moon to lock focus. Drag the brightness slider down to the desired setting until you see the level of detail you want. Then, hit the record button and capture the desired length of video. To extract a photo, play your video back, stop on the desired frame and take a screenshot.